A wood fence can add charm and character to any property, but over time, exposure to the elements can leave it looking weathered and worn. Proper cleaning and restoration can bring back its original beauty and extend its lifespan. Here’s a comprehensive guide to help you clean and restore your wood fence.
Materials You’ll Need:
- Safety Gear: Gloves, safety glasses, and a mask.
- Cleaning Supplies: Bucket, water, mild detergent, bleach or wood cleaner, scrub brush, and a garden hose.
- Restoration Supplies: Sandpaper or power sander, wood filler, putty knife, exterior wood stain or paint, and brushes or rollers.
- Tools: Pressure washer (optional), screwdriver, and hammer.
Step 1: Inspection and Preparation
- Inspect the Fence:
- Check for any loose nails, screws, or damaged boards.
- Replace or repair any broken or rotted sections.
- Clear the Area:
- Remove any obstacles around the fence, including plants, decorations, and furniture.
- Cover nearby plants and grass with plastic sheeting to protect them from cleaning chemicals.
Step 2: Cleaning the Fence
- Initial Rinse:
- Use a garden hose or a pressure washer to rinse off loose dirt and debris.
- Be careful with the pressure washer; use a low setting to avoid damaging the wood.
- Cleaning Solution:
- Mix a solution of water and mild detergent for general dirt removal.
- For mildew or algae, use a mixture of one part bleach to three parts water or a commercial wood cleaner.
- Scrub the Fence:
- Apply the cleaning solution with a scrub brush or a garden sprayer.
- Scrub the surface gently but thoroughly to remove grime, mold, and mildew.
- Rinse Thoroughly:
- Rinse the fence thoroughly with water to remove all the cleaning solution.
- Allow the fence to dry completely, which can take 24-48 hours depending on the weather.
Step 3: Sanding and Repairs
- Sanding the Fence:
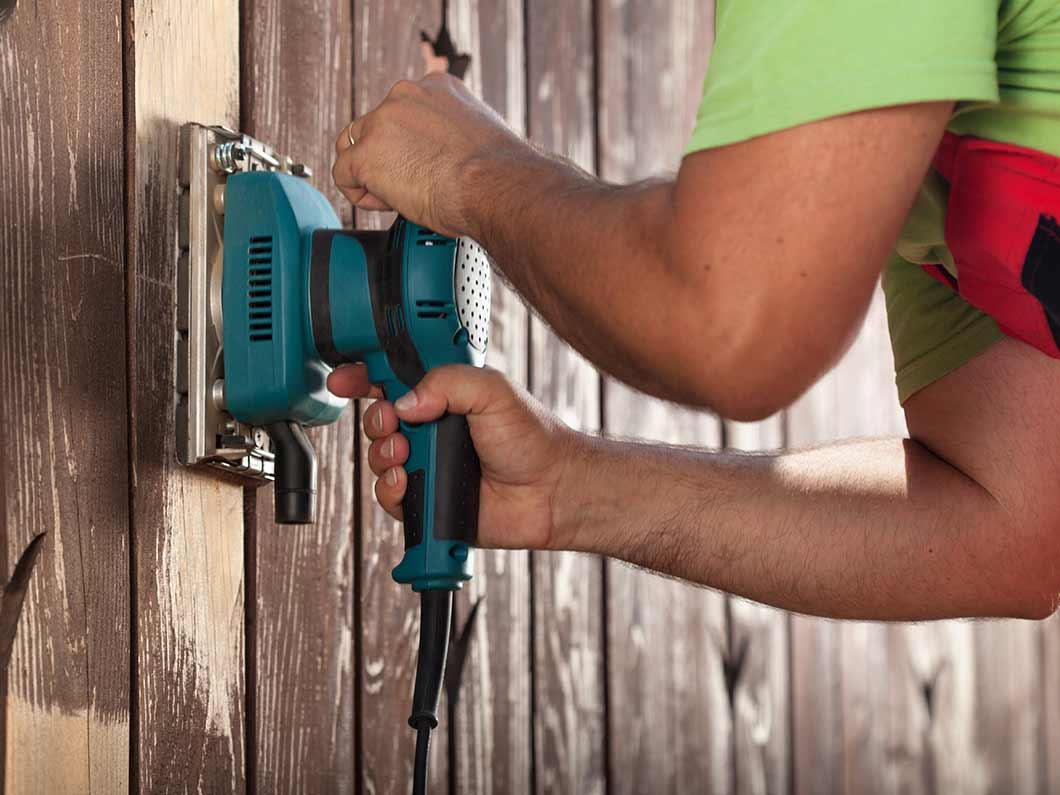
- Once the fence is dry, sand the surface to remove rough spots, splinters, and any remaining stains.
- Use medium-grit sandpaper or a power sander for larger areas.
- Wear a mask to avoid inhaling dust.
- Make Repairs:
- Fill any cracks or holes with wood filler and smooth it out with a putty knife.
- Allow the filler to dry and sand it down until smooth.
Step 4: Staining or Painting
- Choose the Finish:
- Decide whether you want to stain or paint your fence. Stain penetrates the wood and provides a natural look, while paint offers more color options and a more uniform appearance.
- Apply the Finish:
- If staining, use a brush or roller to apply an even coat of wood stain. Follow the grain of the wood for the best results.
- For painting, apply a primer first if necessary, then follow with two coats of exterior paint.
- Seal the Finish:
- Consider applying a clear wood sealant for additional protection, especially if you live in an area with harsh weather conditions.
Step 5: Maintenance
- Regular Inspections:
- Inspect your fence regularly for signs of damage or wear.
- Address issues promptly to prevent further deterioration.
- Periodic Cleaning:
- Clean your fence annually to remove dirt and prevent mold and mildew buildup.
- Reapply Finish:
- Reapply stain or paint every few years, or as needed, to maintain the fence’s appearance and protection.
Need assistance? We can repair that fence for you.
Cleaning and restoring a wood fence will require time and effort, but the results are well worth it. If you’re feeling a bit overwhelmed, give us a call! The Francisco Fence team are experts at fence repair and can get your wooden fence looking better than when it was first installed. Contact us today!


